A lidded project is one that requires you to measure the box's sides and perimeter. The lid and box are typically cut from the same 2-in thick block of seasoned wood. To square the base, first cut a half inch on each side. To ensure that the final box is able to sit on it, you need to make sure the base's center is slightly recessed. Cut the recess with a small scraper.
Hollowing end grain in lidded cabinets: challenges
The hollowing of end grain is a common challenge when box-making. This process is complex and requires specialist tools. A simple hollowing tool can be made for $30 using an old screwdriver. You can also buy a gouge to use for this purpose. The key to hollowing end grain is to avoid using sharp edges. A gouge should feature a long, flat edge and a round fingernail.
End grain hollowing is five times more difficult than side grain. It can also easily tear out. It is this reason that even skilled bowl turners have difficulty hollowing end grain. Although this can help to overcome the problem, you should know that special end-grain tools are often required for lidded box.
Making a snap-fit lidded cardboard box
A snap fit lidded box can be described as a container that features a sliding lock. These boxes may contain liquid or other liquid-filled container. These boxes are simple to assemble and disassemble. They can also be automated for lower assembly costs. There are many types available. Therefore, engineers should select the best snap-fits based on their cost, strength, failure rate, and other factors. This article provides an overview on the different types and uses of snap-fits.
Use a 3-D printer for creating a snap-fit lidded package. It is important that the upper half of the box be designed correctly. The upper should be flush with the base. The lid must not move while seated. The lid should snap in place. This can be achieved by removing wood in small steps. Although this may seem difficult, it is well worth the effort.
Wooden used to make lidded boxes
Woods are taken from fallen trees to create the various types of lidded boxes. After the tree has been cut, it is dried to prevent cracks. After drying, the wood shrinks. You can make a lidded container from any type of wood depending on your preference. A lid is generally made from two pieces, one smaller than the other.
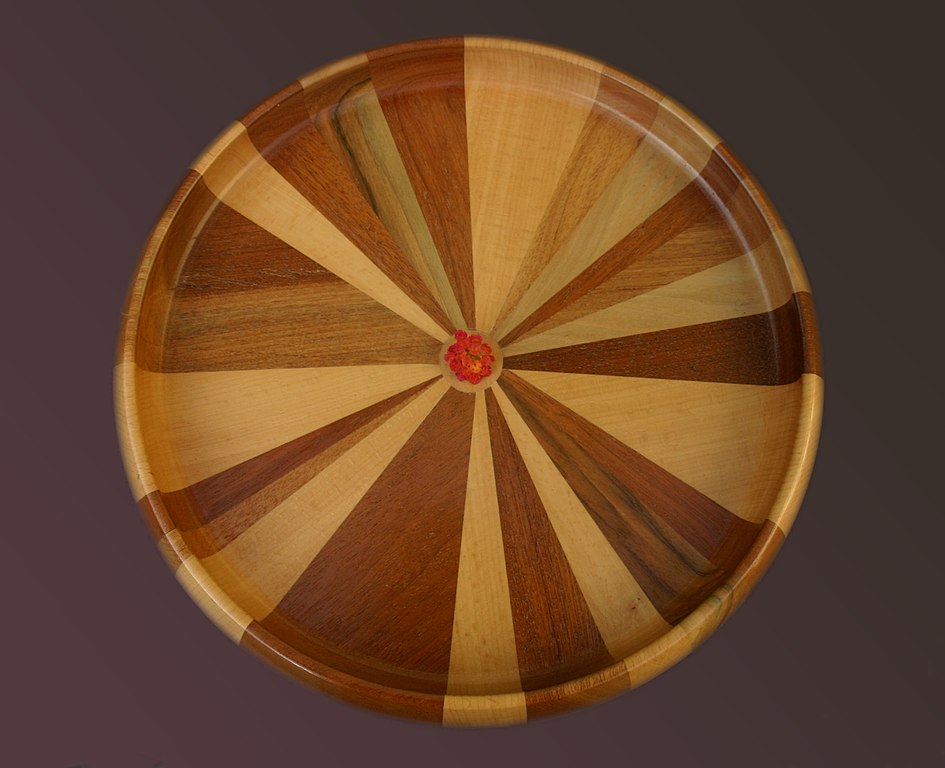
By turning small circular containers on a lathe, they could be made with lids. Boxwood, which is a slow-growing tree with a narrow grain and thin pieces, was used by turners. Because the grain was very close together, this wood was great for making fine details. This wood was often used to make double-sided, combs. These boxes were also called pyxides and were made from boxwood.
Dimensions of the lidded box
The type of wood that you use determines the size of the lidded container. Maple and cherry are most commonly used. These two types are great for making boxes. They have different shrinkage rates. For a good quality box, the wood should be 3 inches squared and 5-6 inches long. When choosing the wood for your box, make sure it is dry throughout. You can use exotic woods to create a lid that is attractive and appealing, but it is best to be familiar with the process.

First prepare the wood. For smoothing and rounding the bottom, you will need to use a thin circular chamfer. Make a V-shaped cutting at the joint. Once you're satisfied with the design, you can use the spindle-roughing touge to finish shaping and finishing the rest. Before you start carving the lid, use a parting tool to mark the bottom of the box. To make a slight chamfer on your lid's base, you can use the skew chisel. This will soften corners and hide a slight circularity around the base/lid joint.
FAQ
What kind of wood should I use?
Oak, maple, cherry and mahogany are the most common wood types used for woodworking. Every type of wood is different and can have a unique look and feel that will affect the final product. Oak, for example, tends be darker and more hard than other woods. Birch is soft and lightweight, while mahogany is denser and heavier. You also have the option of solid wood or veneers. Veneers can be described as thin sheets of wood that have been glued together in one layer.
What kind of tools do carpenters use?
A hammer is the most commonly used tool by carpenters. A hammer is useful for driving nails into wood. They can also use it to hold the pieces together as they work on a project. Other tools include clamps, pliers, screwdrivers, measuring tape, pencils, saws, drills, and wrenches.
What tools should I start with when becoming a woodworker?
Woodworking is an art that takes patience and practice. It takes time to master all the tools and techniques involved in woodworking.
There are many different types of woodworking equipment available on the market today. Some prefer to use power tools, while others prefer to use hand tools.
While you have the option to pick what you like, it is essential that you get the right tool for the job. Start with a basic set if you don’t have any previous experience.
A router is a tool that cuts intricate shapes in wood. You can also learn how to use it. You can find these at most hardware stores.
How much money do you need to get going?
Each project is unique so there aren’t exact numbers. These are the factors that will give you an idea of how much you'll need.
-
Material costs
-
Tools and equipment
-
Time spent on the project
-
Your hourly rate
-
What profit are you expecting to earn?
-
No matter if you are looking to hire someone
It's a good idea for beginners to start with small projects like frames and boxes. As you gain experience, you'll be able to tackle more complex projects.
Is it possible to refinish your own furniture?
Yes! There are plenty of ways to refinish old pieces of furniture without having to pay a pro. Here are some suggestions:
Use sandpaper to remove scratches and stains. Then wipe down the surface with a clean cloth.
Apply clear polyurethane paint. Allow furniture to dry completely before you move it around.
Use acrylic paint to paint furniture.
Instead of painting, use stain. You can give your furniture a rich appearance with stain.
Use shellac wax. You can protect your wood with wax and give it shine.
Where can I start woodworking?
You can learn the most effective way to build furniture by actually building it. While you will need tools, mistakes are inevitable, but you will learn the ropes if you persevere.
First, choose a project you would like to complete. It could be something as simple as a box or as elaborate as a full-scale entertainment center. Once you've decided on a project, find a local woodworker who specializes in that kind of work. Ask the local woodworker for help in deciding what tools and where to get them. It's possible to ask your friend if they do this type of work.
Statistics
- Average lumber prices rose about 600 percent between April 2020 and May 2021. (familyhandyman.com)
- Overall employment of woodworkers is projected to grow 8 percent from 2020 to 2030, about as fast as the average for all occupations. (bls.gov)
- The U.S. Bureau of Labor Statistics (BLS) estimates that the number of jobs for woodworkers will decline by 4% between 2019 and 2029. (indeed.com)
- If your lumber isn't as dry as you would like when you purchase it (over 22% in Glen Huey's opinion…probably over 10-15% in my opinion), then it's a good idea to let it acclimate to your workshop for a couple of weeks. (woodandshop.com)
External Links
How To
How to make wood joints
This tutorial will help you join two pieces of wooden together. We will be using the "pocket-hole joint", which involves drilling holes in wood and then gluing them together. If your wood has a straight grain, smooth surface, you can use this method. You might consider dowel joinery if your wood isn’t straight or flat. These are the steps
-
Drill Pocket Hole Joints. To start, measure and mark where you want to put the pocket hole joint. Use a jigsaw or handheld drilling machine to drill 3/8 inch deep holes at the ends of each wood piece.
-
Sand Smooth. Sanding the edges of the wood will help to prevent the joint from splitting later.
-
Glue the two sides of the wood together. Apply glue to both the ends of the wood. Allow the wood to rest for five minutes before clamping it together.
-
Attach the Pieces together. Once the glue has dried, clamp the pieces together so they are flush.
-
Trim Joinery. Trimming the joinery after glue has completely dried.
To be able to turn the pieces inside-out, leave enough room between them.