There are many methods to carve a Gnome. Before you begin carving, there are some important things to remember. This project is both fun and rewarding, in addition to the actual carving. It requires multiple layers and is a great way to learn how to carve a gnome. There are many different ways you can add creativity and flair to your gnome carve. Below are three tips to help you carve a wooden gnome.
Freehand carving of a gnome
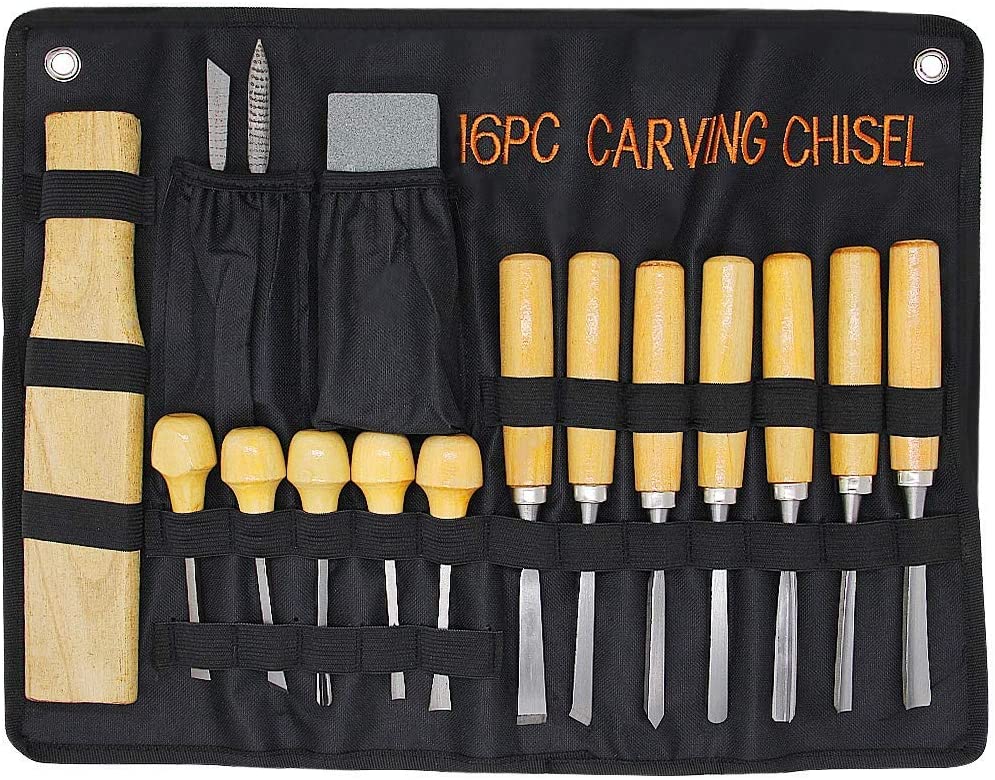
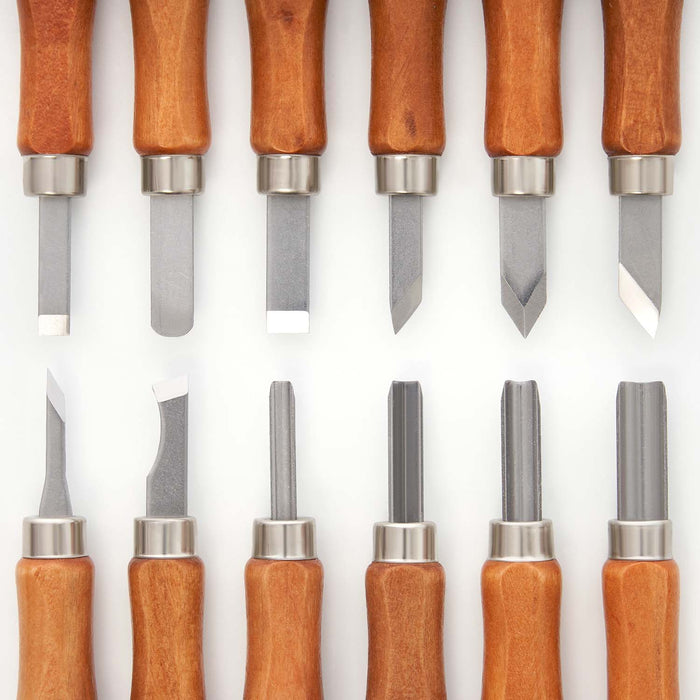
These are some helpful tips for carving a freehand gnome to use as a Christmas ornament. While it is possible to carve a gnome using only a knife, a micro V-tool is necessary if you want to add fine details to the hat rim or beard. A gnome, while a simple project to carve, can be accomplished in your spare moments.
The gnome is a great way to test your skill in freehand carving. These were once very popular as garden ornaments. Carving a gnome from wood is a great way to gauge your skill and see where you need to improve. You can also use it as a measuring stick to determine design, depth, detail, or design. Once you have mastered the gnome drawing you can begin to sculpt his features.
Whistle carving is a must-try project for every woodcarver
A whistle is a great project for woodcarvers. A whistle, which is simple and functional, can be fun to carve. It's also a great way to introduce people to the craft. To make your whistle a useful piece, you need to know the steps. This tutorial will walk you through the process of carving a whistle.
First, you'll need a straight-edged knife and non-toxic oil to start the project. While carving a gnome might seem daunting, it's actually quite simple and will enhance your woodcarving skills. It's also one of the best beginner projects, as it will provide you with an opportunity to practice many woodcarving techniques.
Gnome carvings can be creative.
It is as easy as adding a hat to enhance gnome carvings. A wood-carved Gnome can be a fun decoration or a terrifying troll that will make your heart melt. Gnomes add personality and charm to your garden. They can be made from wood, stone and other materials.
A gnome made of wood
When carving a gnome out of wood, the first thing you need to do is determine the size of your wood block. Next, draw the gnome’s anatomy. This includes the face, body (including feet), belt, and hat. To create smooth corners on the face, make a V cut in some areas. You can make V cuts using a chisel and/or a knife. Then, using a micro V-tool, cut out a piece of wood about 1.5mm thick. This will give a nice curved edge that you can use for your hat rim, and beard.
You should remember that carving a gnome is an easy project for beginners. There is so much potential for high-quality work. You can expect to make progress at each step by carving a gnome every other week. Although this is not always possible with all projects, you can expect to see improvements in design, shape and facial features every week.
A world of gnomes can be made more gnome-friendly by adding a gnome
Gnomes in the Underdark and other RPGs typically have one consistent character: David. This character does not seem crazy. He has traits like Speak Fluent Animal, Can't Argue with Elves, and Telepathy. He can also put up road signs to scare people off. David and Lisa may have a rivalry.
Gnomes have a powerful ability to cast spells and are very proficient at manipulating arcana. They are also the only available race in the game. Other gnomes (such as undead gnomes and leper-gnomes) share the same animated skeleton. Gnomes have always had a strong presence in Kirin Tor. Meryl, the founding member of the group, had a associate named gnome.
FAQ
How long does a piece take to finish?
It depends on which wood you choose, how complicated your design is and what amount of finishing you apply. For example, hardwoods require more maintenance than softwoods. Hardwoods also tend to be more expensive than softwoods. But they last longer, and resist moisture better. Finishing furniture can take anywhere from one week up to three months.
What tools are used by carpenters?
The most common tool used by carpenters is a hammer. A hammer can be used to drive nails into wood. A hammer is used to hold pieces together during a project. Other tools include clamps.
What's the time taken to finish a piece furniture?
It depends on the size and condition of the furniture. Boxes and picture frames are small projects that can be completed in one day. Larger projects like tables and desks take many days. It takes time in order to properly stain or seal the wood.
What material would your recommendation be to learn woodworking?
Start with softwoods, such as pine or poplar. These two are the easiest to master, then you can transition to hardwood.
How much should a skilled woodworker earn per hour?
The hourly rate of a professional woodworker depends on many factors including experience, skill level, availability, location, etc.
The average hourly rate for a skilled woodworker ranges from $20-$50 an hour.
A less skilled woodworker can charge as low at $10 an hour.
How do I get started with woodworking?
The best way to learn how to build furniture is by building furniture. You will need tools. There are bound to be mistakes. But if your persistence is consistent, you will soon master the craft.
Start by choosing a project you'd like to complete. You could make something as simple or complex as a box. Or you could build a whole entertainment center. Once you have chosen a project, locate a local woodworker who is skilled in this kind of work. Ask the local woodworker for help in deciding what tools and where to get them. Maybe you can ask the person if they know of anyone who does this sort of work.
Statistics
- Overall employment of woodworkers is projected to grow 8 percent from 2020 to 2030, about as fast as the average for all occupations. (bls.gov)
- Average lumber prices rose about 600 percent between April 2020 and May 2021. (familyhandyman.com)
- If your lumber isn't as dry as you would like when you purchase it (over 22% in Glen Huey's opinion…probably over 10-15% in my opinion), then it's a good idea to let it acclimate to your workshop for a couple of weeks. (woodandshop.com)
- The best-paid 10 percent make $76,000, while the lowest-paid 10 percent make $34,000. (zippia.com)
External Links
How To
Tips on how to drive a nail in wood
First, choose the right size and type of tool to drive a nail through wood. The most popular types of hammers include claw hammers as well as mallets and ball peenhammers. Each type has its strengths and weaknesses. A claw hammer, for example, is the best choice if you need to hit nails hard. However, it's not easy to know exactly where the impact will land. A sledgehammer is useful for striking large areas at once but too heavy to be effective for smaller tasks.
After selecting the right hammer, you will need to place your hand flat against one side of the head. The handle should rest comfortably in your hands. You can grip the handle with your fingers, but not so tight that it causes injury. The hammer should be held straight up with your wrist relaxed. Next, swing the hammer toward the ground and aim for the nail's center. You should feel the impact of the hammer striking the nail. If you're having trouble getting the hang of swinging a hammer, practice with a block of wood until you get the rhythm down.
The hammer should be held close to your body when you are ready to begin driving the nail. Position the nail, so it's perpendicular to the surface of the wood. Keep your eyes on the tip. Move the hammer forward and then continue to move the hammerhead. Repeat this action several times, gradually increasing the speed of the swing. Once you've mastered the technique, try adding power to your swings. Then, raise the hammer from your shoulder to bring it down. This will allow you to exert more energy.
Once you've made the first nail hole, take out the hammer. Use a pry bar or screwdriver to pull out the rest of the nails. Keep the nails heads in line with the surface of the board to prevent splitting the wood.